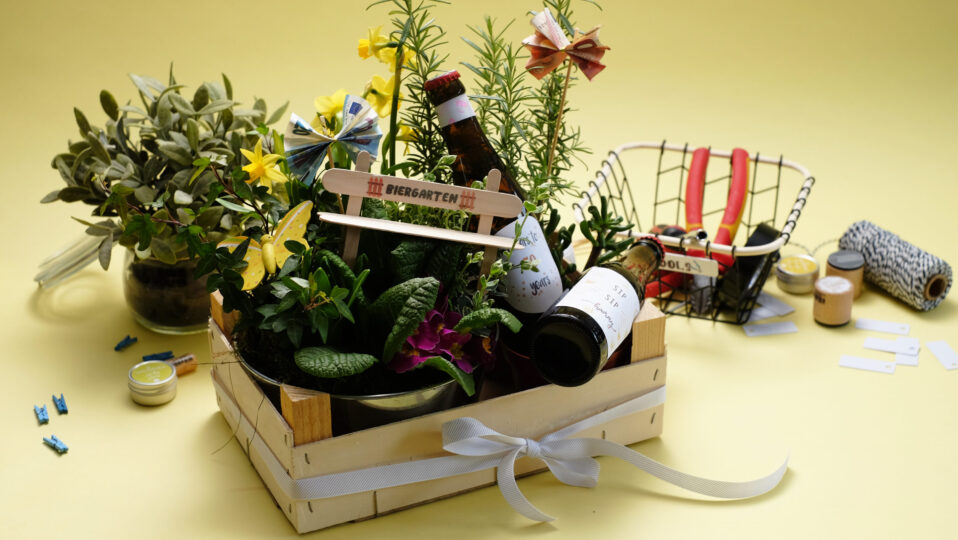
The handy beer garden for everyone – craft, print and give away
STEP 1 - Crafting preparations
You need a super original last minute gift for your friend? Then we have the perfect idea for you, which always works! You'll find everything you need for your DIY project in our checklist:
- Larger wooden sticks
- Smaller wooden sticks
- Orange crate or other wooden box
- Hot glue gun
- Scissors
- Paper
- Glue
- Favourite beer bottles
- A few banknotes or vouchers
- Fresh herbs or flowers
- COLOP e-mark® create
- COLOP e-mark® ribbon
- COLOP e-mark® ruler
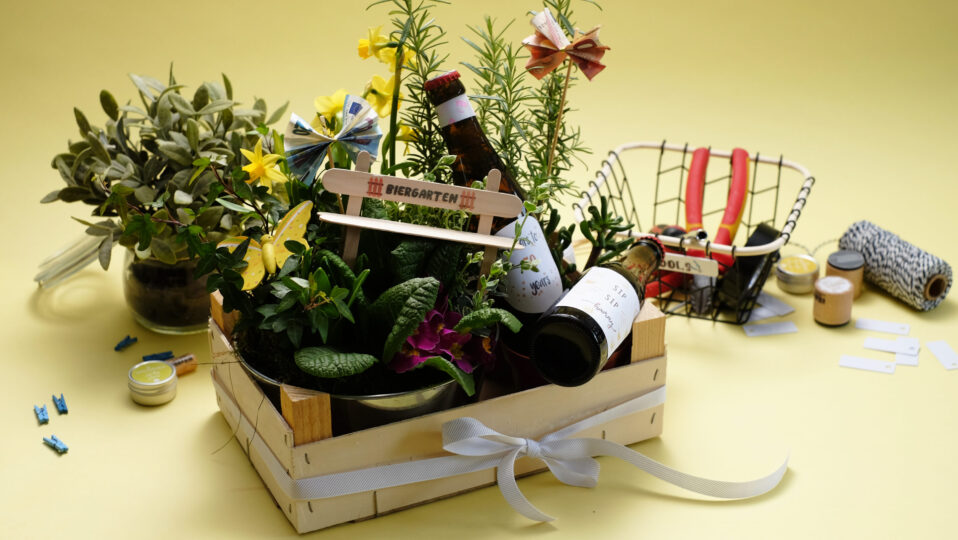

STEP 2 - Glue the wooden sticks together
Take the wooden sticks and heat up your hot glue gun, because speed is of the essence here! The very first thing you do is glue two wooden sticks together side by side - hold them firmly together until everything has dried well. Once this is done, attach another wooden stick to the two sticks with hot glue. Press well. This creates the seat of the future beer bench.
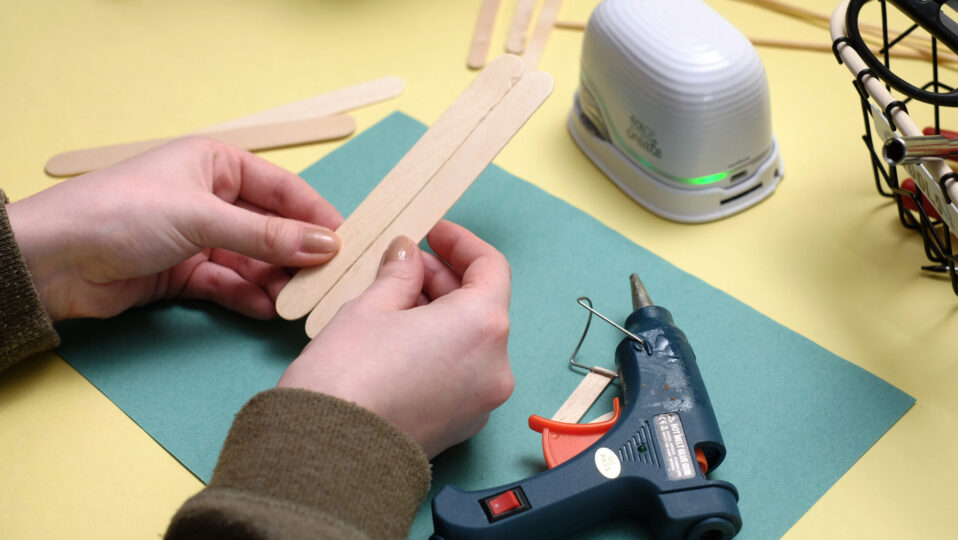

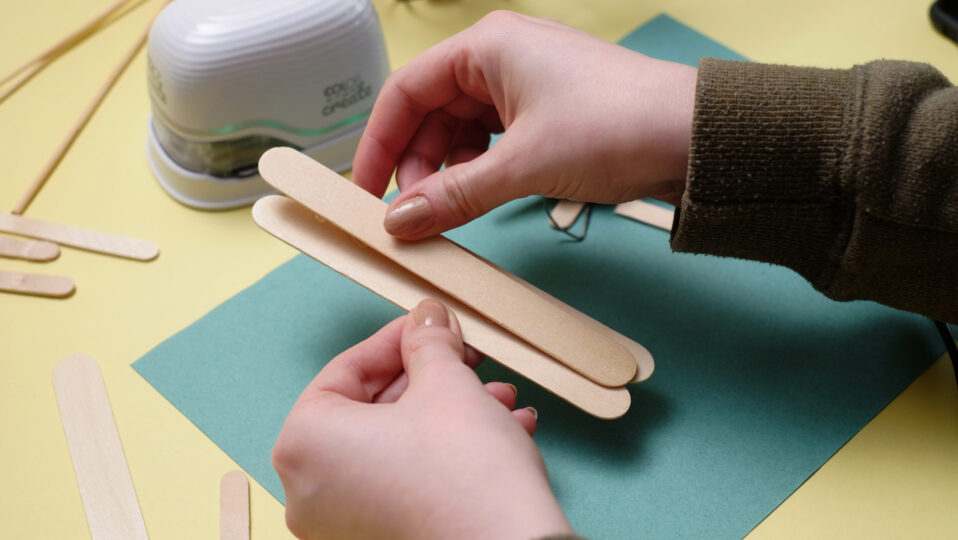

STEP 3 - Attach feet for the mini beer bench
Now come the feet. Take the small wooden sticks and cut them in half. These are then also attached to the bottom of the bench with hot glue. Press on well and wait a while until everything is dry. The back feet are a little longer because they also form the back of the bench. At the end, simply shorten the too long feet at the back with scissors to the same length as the front feet.
STEP 4 - Selecting the imprint
Now you can download one of our cool designs from the templates section of our website into your app or create your own design. Save the motiv, send it to e-mark and you're ready to print.
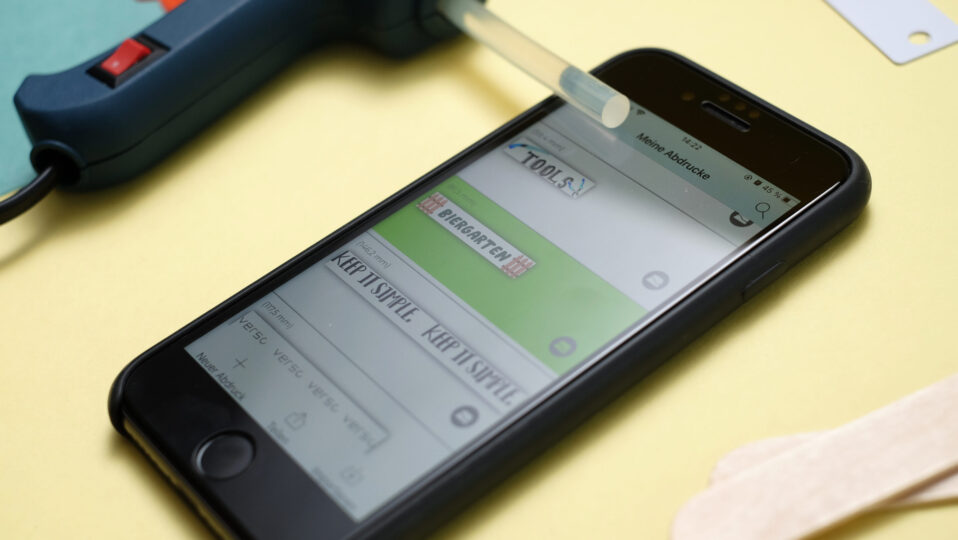

STEP 5 - Print on wood
Now you only have to print on the back of the beer bench to finish it. To do this, it is best to use a large wooden stick again. To ensure that everything goes smoothly and is printed straight, use our COLOP e-mark ruler. This helpful little something ensures perfect alignment. Then apply the COLOP e-mark create and print the imprint onto the stick.
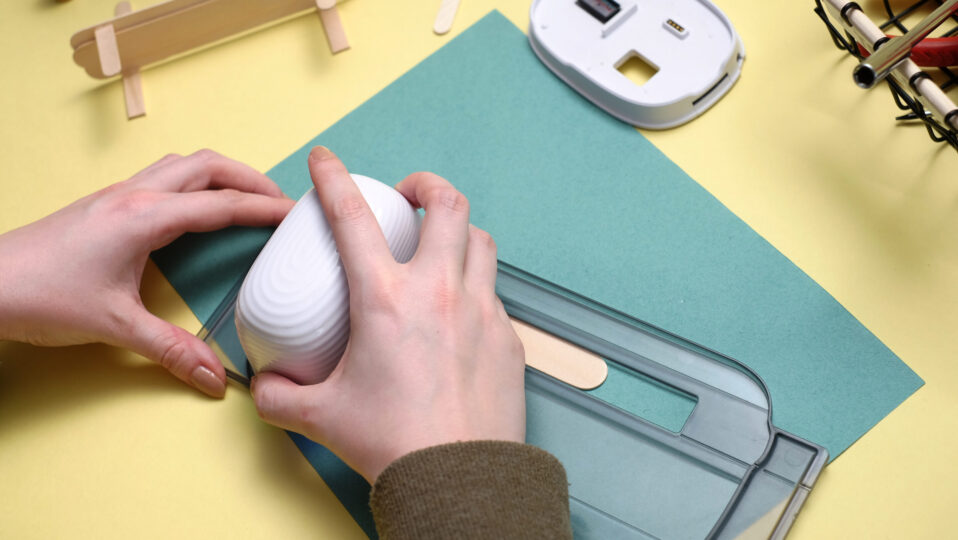

STEP 6 - Finishing the bench
If you like the print, simply attach the back to the previously built bench construction with the hot glue gun. Congratulations- the beer bench is ready! Just a few more steps until the gift is ready to be handed over.
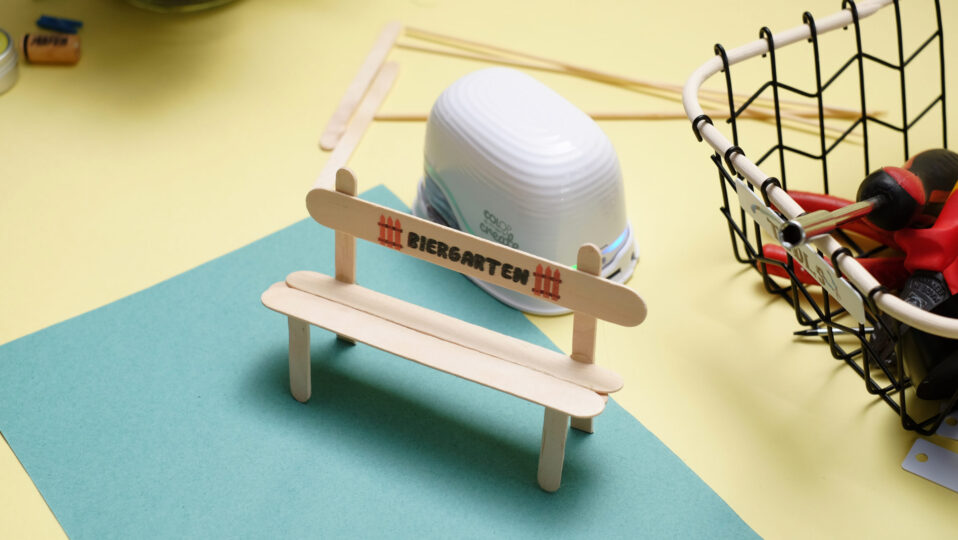

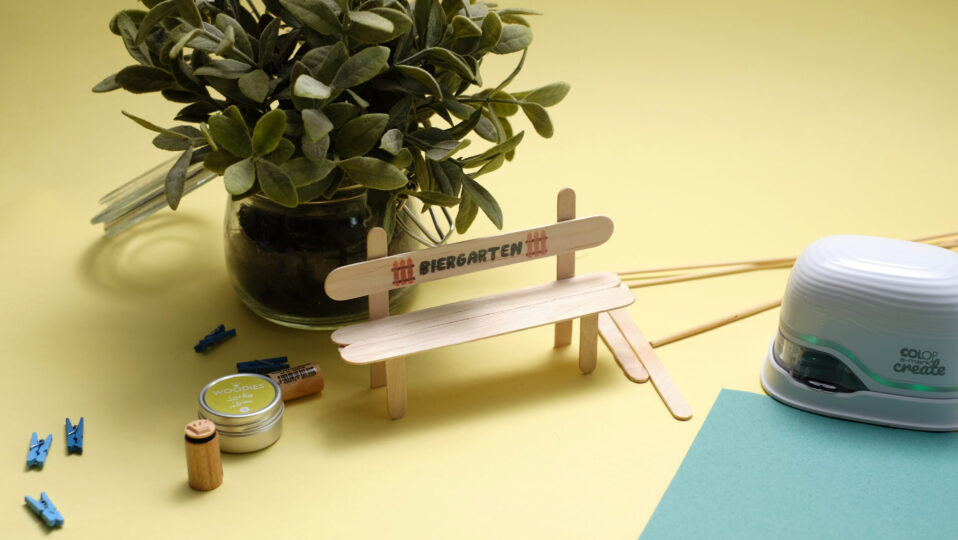

STEP 7 - Crafting your own beer labels
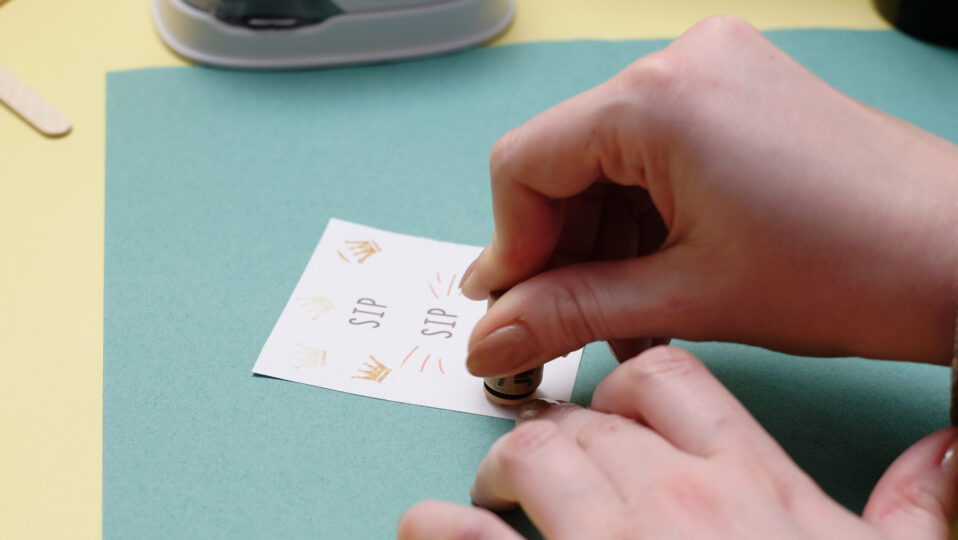
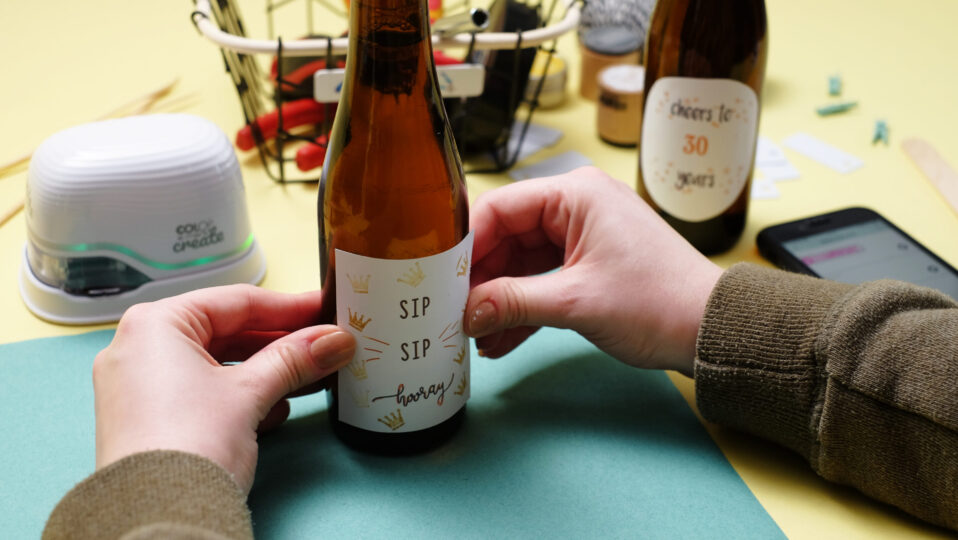
Now add your own motifs to the beer bottles, which you can also print with the e-mark create, and beautify them with the Woodie stamp imprints (www.mywoodies.net). The Woodies from COLOP Arts & Crafts are high-quality round wooden stamps with various motifs. The stamps and the matching ink pads are available in selected craft shops online and offline. Stick the label on the beer bottle with a standard glue, press on and you're done!


STEP 8 - Print on cotton ribbons
Now you can also print our cotton ribbon with the e-mark create. The procedure is super easy: Take the matching ribbon guide, select your desired motif and simply move the e-mark create to the right. Quickly wrap it around the gift box and it will look even more attractive.
STEP 9 - final touches
Now place all the elements in the box and you're done! Add fragrant flowers or herbs to make your work of art look like a miniature beer garden! The money or vouchers in the shape of butterflies also breathe life into the whole thing! We hope you enjoy giving the beer-garden as a gift!
