Spring awakening with our DIY flower pots for your plants
Step 1
Milk cartons belong in the trash? Absolutely not! Because did you know that you can make something very beautiful out of them? In our latest DIY tutorial, we'll show you how you can use a milk carton as a planter for your spring flowers, which can also be printed on. You'll find everything you need in our handy list:
- Milk carton
- scissors
- natural cord
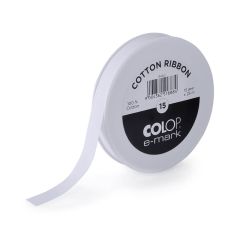
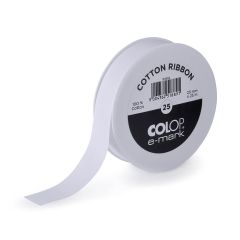
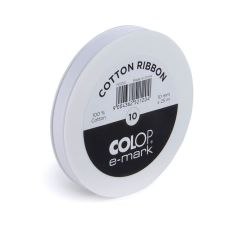
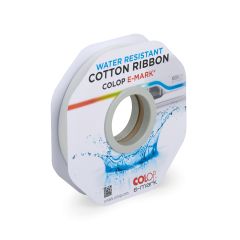
- COLOP e-mark Ribbon
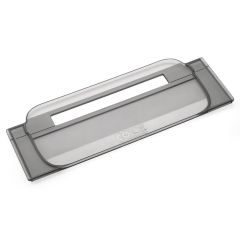
- COLOP e-mark create Ruler
- your favorite flower

Step 2
Now let’s go on to the milk carton! Use scissors to cut off the top part of the milk carton - the larger your planter, the larger the milk carton should be. Simply crumple it up with your hands. This is how you create a crinkling effect. Then you can easily peel off the outer layer of the milk carton. The result: A brown natural cardboard is revealed.
Step 3
After you have completely removed the outer layer, you need to reinforce the upper edge of the milk carton. To do this, fold it inward once and then fold it back outward twice. This will give you a strong and hard edge.
Step 4
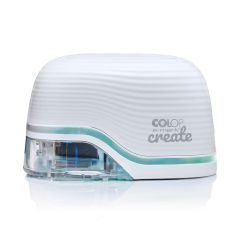
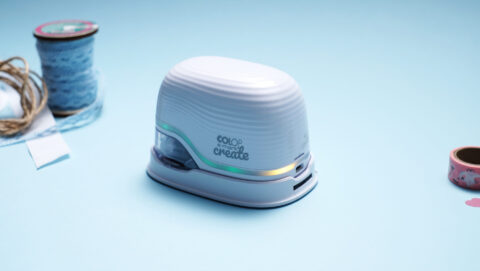
Probably the most famous step in our DIY tutorials: Connect your smartphone to our free app and choose a motif from the many great templates. By the way, you can also download them for free on our website.



Step 5
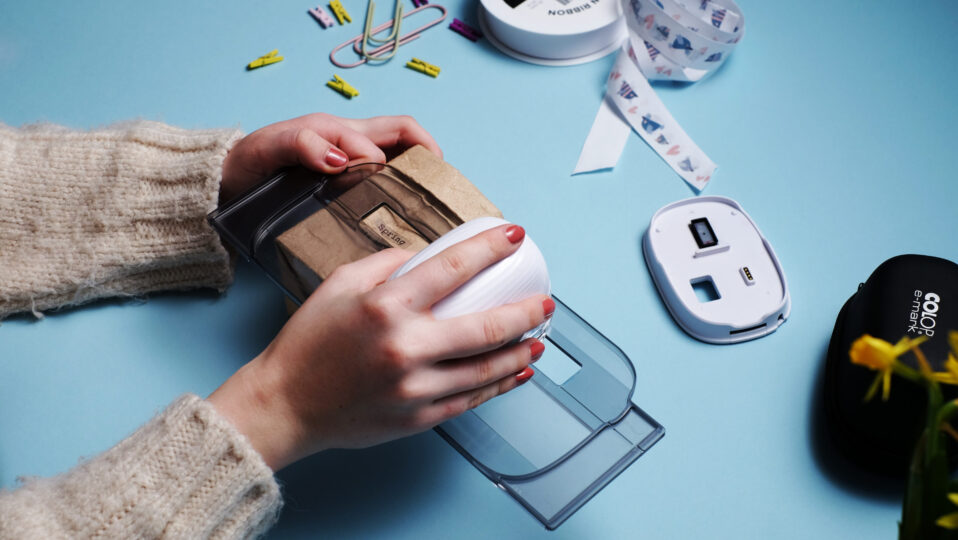
With our COLOP e-mark Ruler you get straight results! Place the ruler on the desired position, put the e-mark create in it and move it to the left or right with a smooth hand movement. Your print motif will appear. Please note: Since this is an intensely absorbent surface, light colours may appear darker.

Step 6
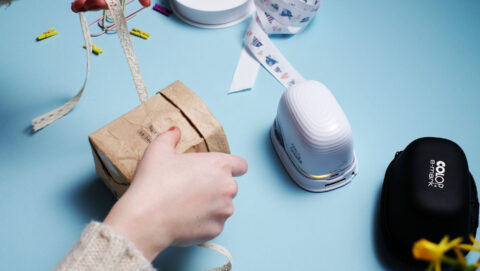
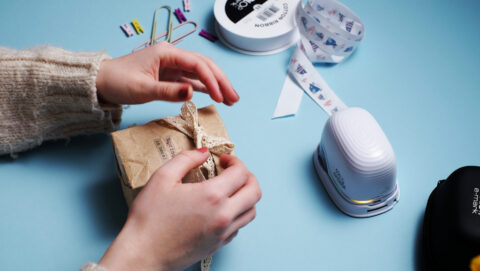
But that's not all. Now tie a pretty ribbon around it and your new decoration is ready. By the way: Instead of conventional decorative ribbons, you can of course also use our COLOP e-mark Ribbon in three different sizes.


Step 7
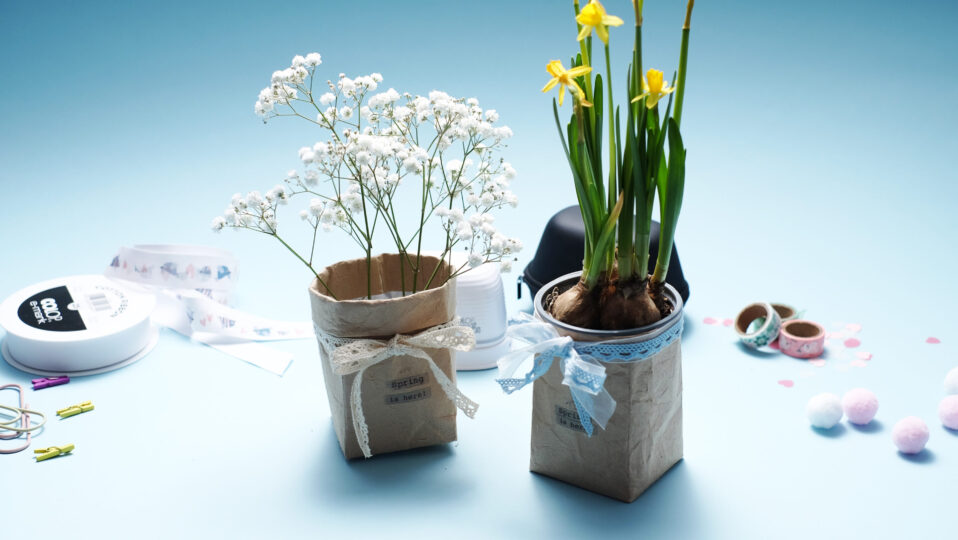
Upcycling can be so beautiful! Whether with fresh daffodils or beautiful baby's breath, we are sure that your craft project will be a complete success.

